Quick & Simple Way to Make Perspective on Your Own
Time management is the crucial factor you need to master when presenting project perspective/3D images to clients. However, some problems tend to occur whenever the deadline for a presentation is closing in. Today, Beyond Decor would like to give you a few simple and efficient tricks you can use when you need to present your project in a pinch.
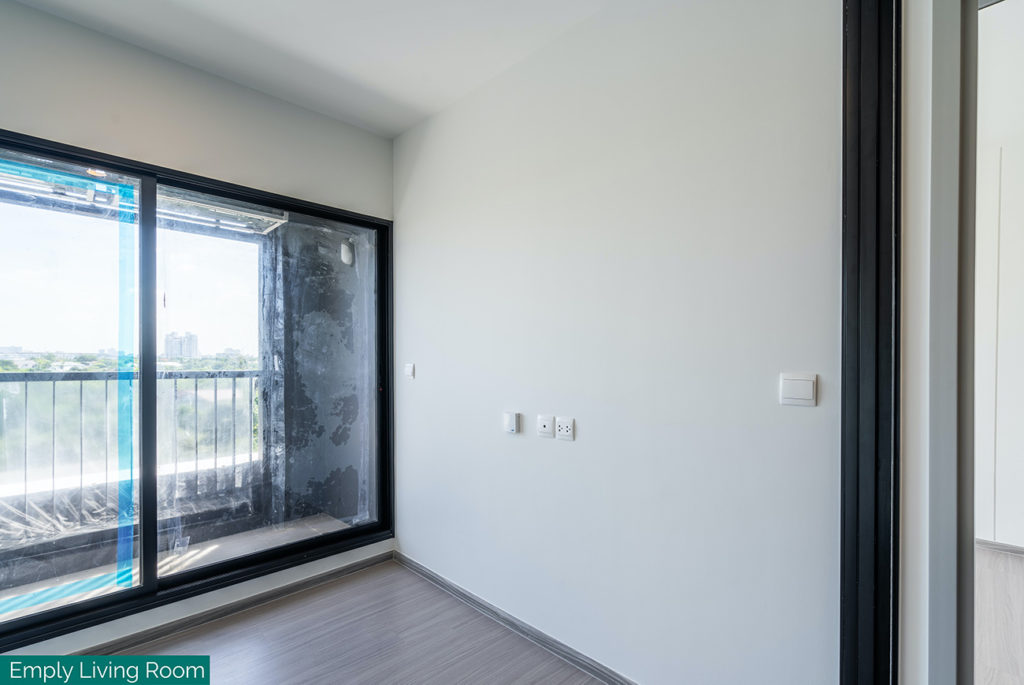
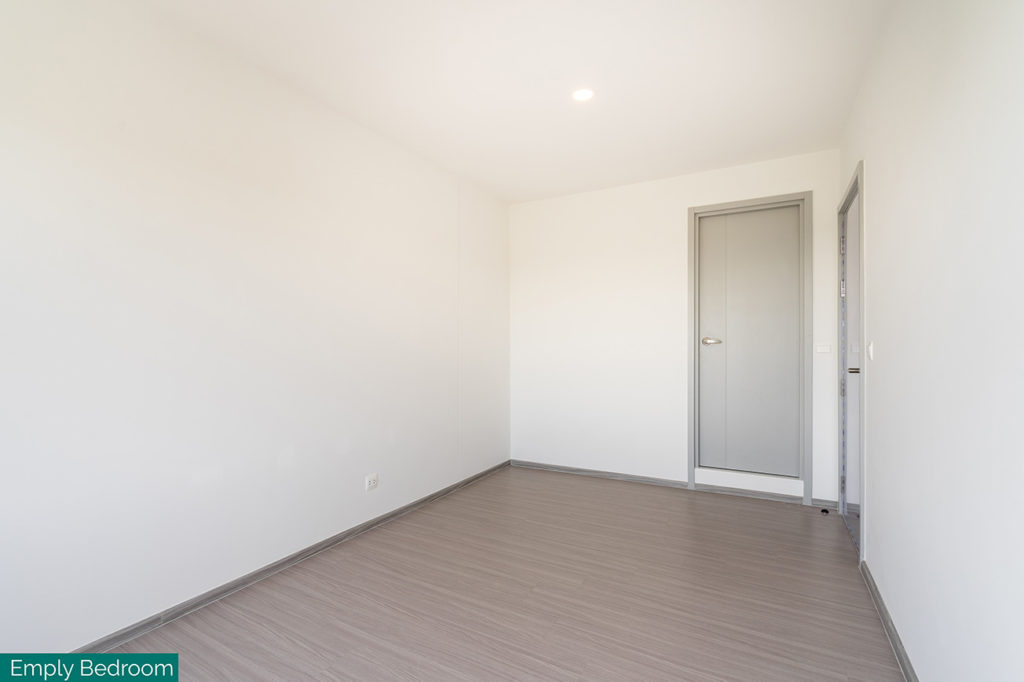
Every time we start a sketch (perspective) image, we will have both the dimensions of the measurement from the worksite as well as the images in every angle that we use for the work. The focus of this simple presentation is the pictures that we took are from the job site, starting from.
1. Bring the photo you took from the work-site.
Choose one that displays all the angles and create a rough perspective sketch with a pencil. Doing this will give you a better understanding of the design layout.
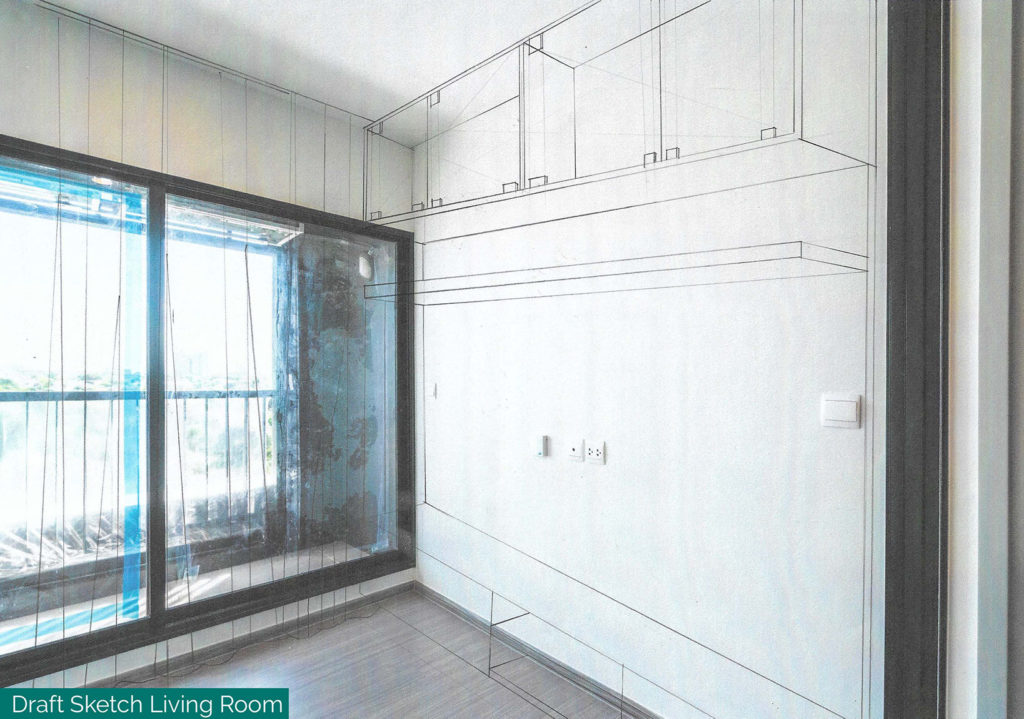
The rough sketch of a living room we have designed.
To simplify the process, after the living room sketch is completed, we will put material labels on each section we need so we know exactly what goes where.
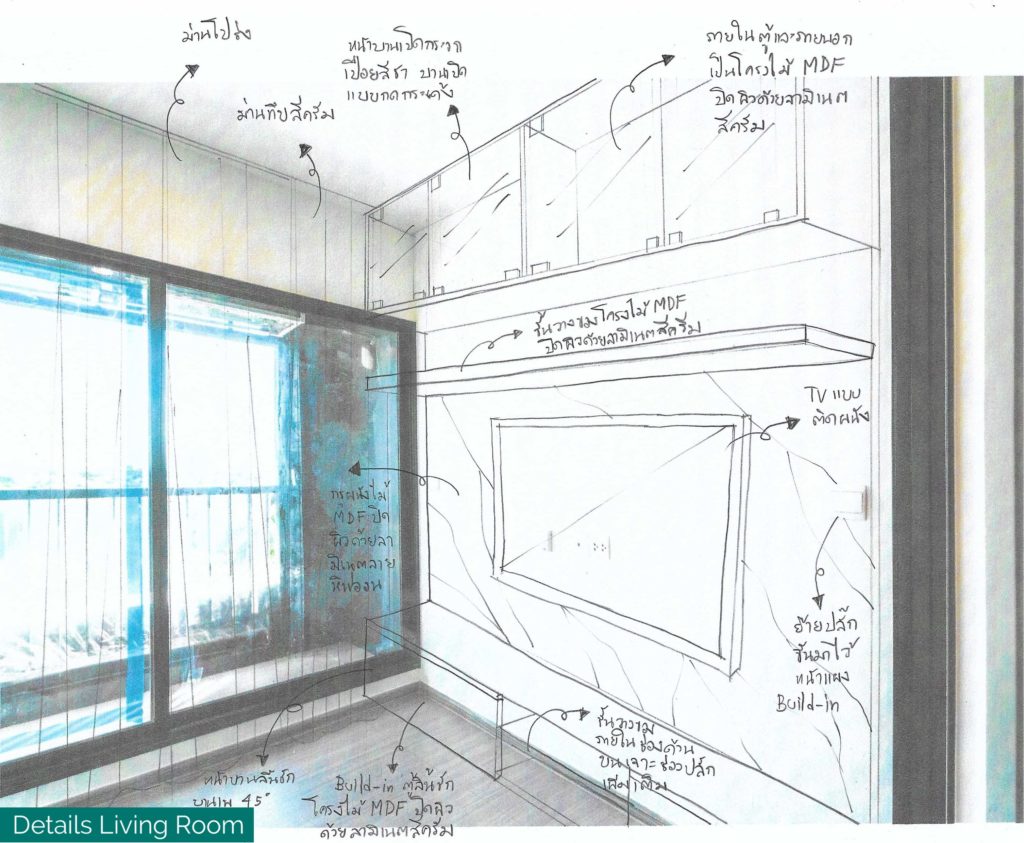
The sketch of a living room with built-in TV furniture.
After the living room sketch, as well as material labels are determined. We might need to put in more details on each material used or make changes after we recheck the worksite. Everything is more detailed and specific at this point.
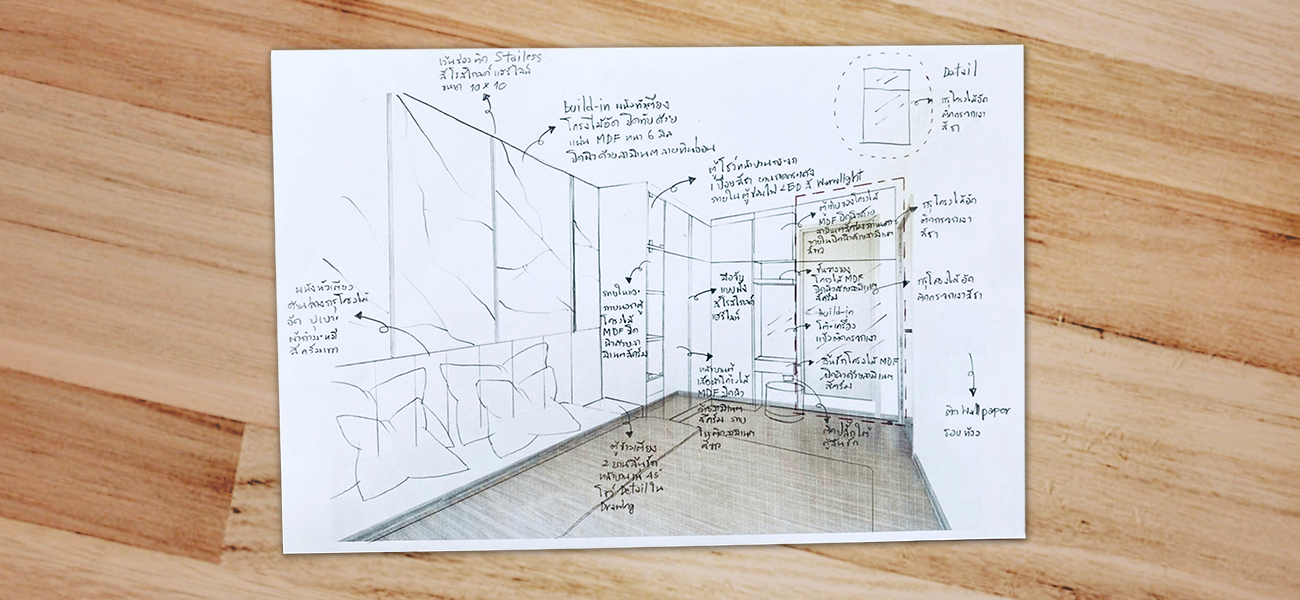
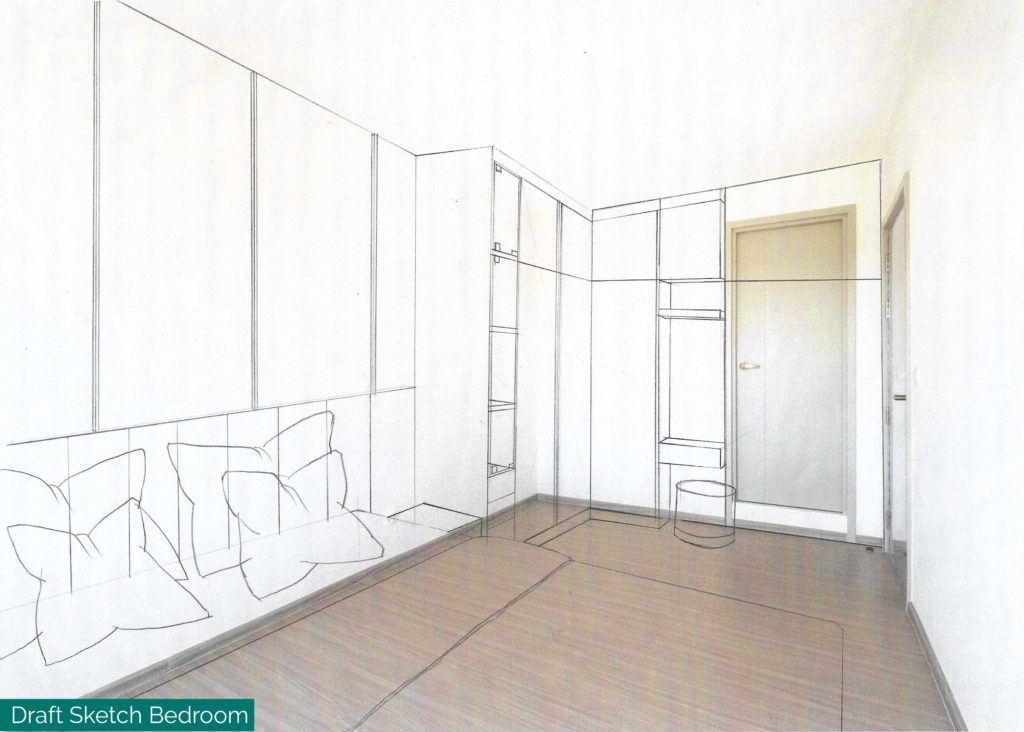
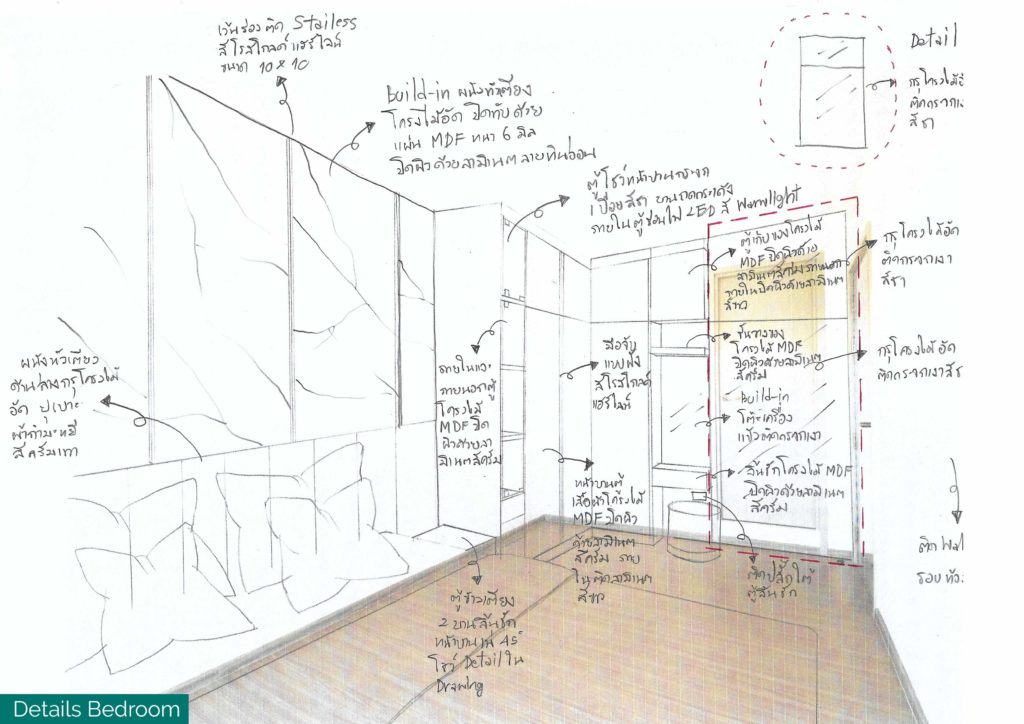
The bedroom sketch, displaying almost all the angles inside the room.
After we sketch out the bedroom, we will list the materials we need to use. If there are any changes that will affect the built-in furniture, we need to specify that in detail. This will greatly reduce any inconveniences that may occur later on.
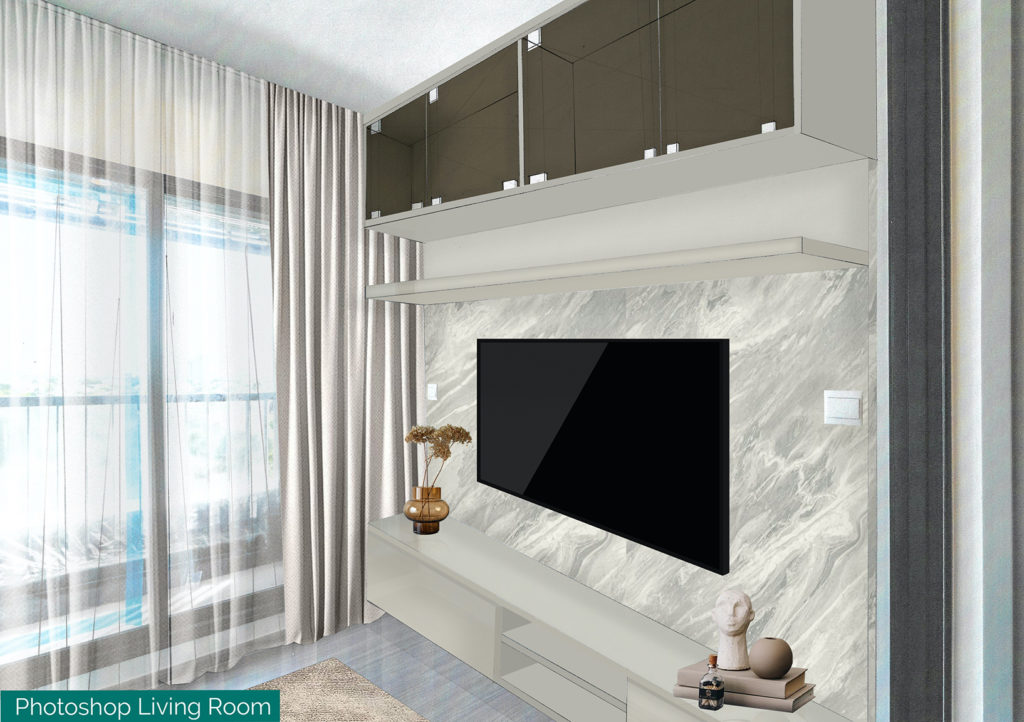
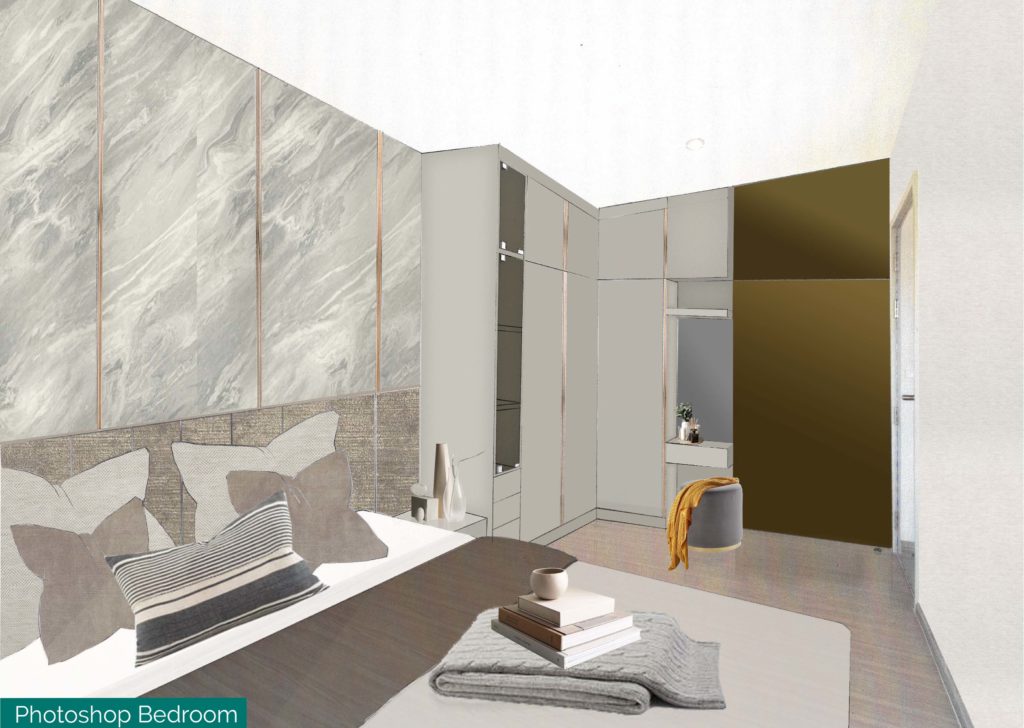
2. Scan the images to make adjustments in Photoshop.
After all the sketches and specifications of the rooms are completed. You can use this Photoshop to retouch the images or relabel materials used. You should also incorporate Color Tones, Moods & Themes and Material Texture into the presentation as well. This will give your clients better understanding of the project outlooks.
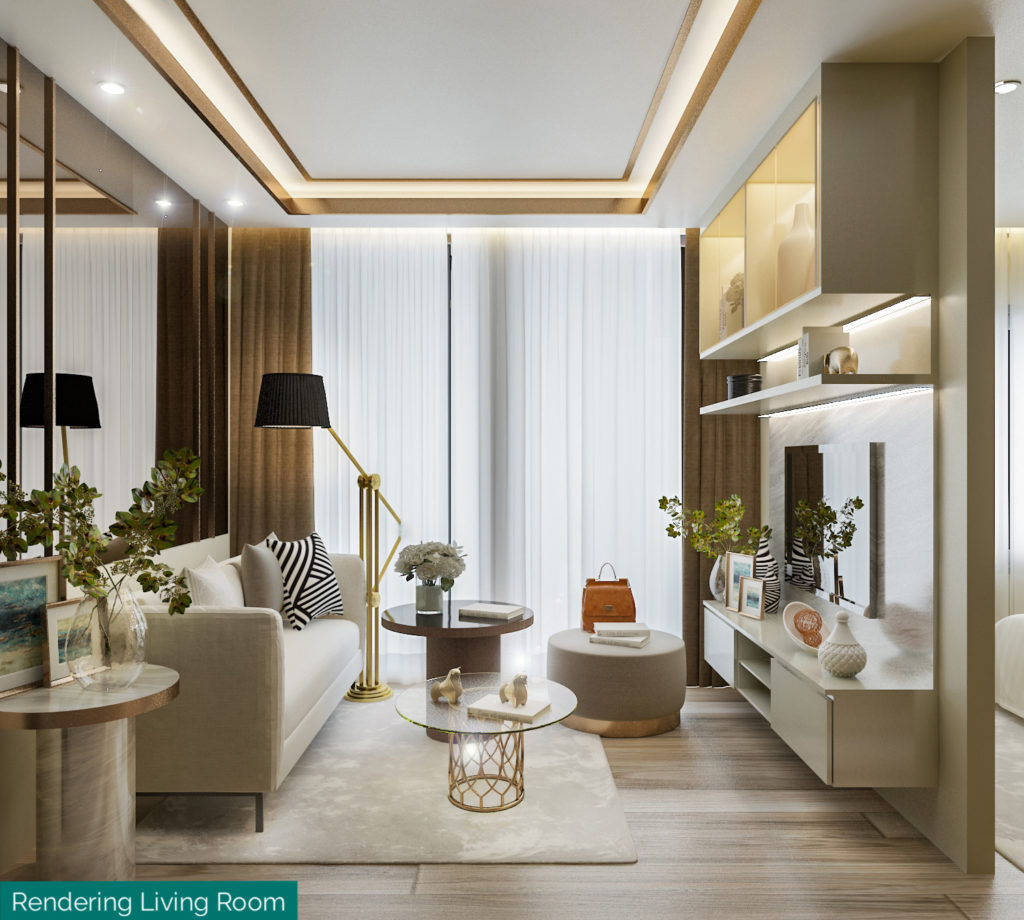
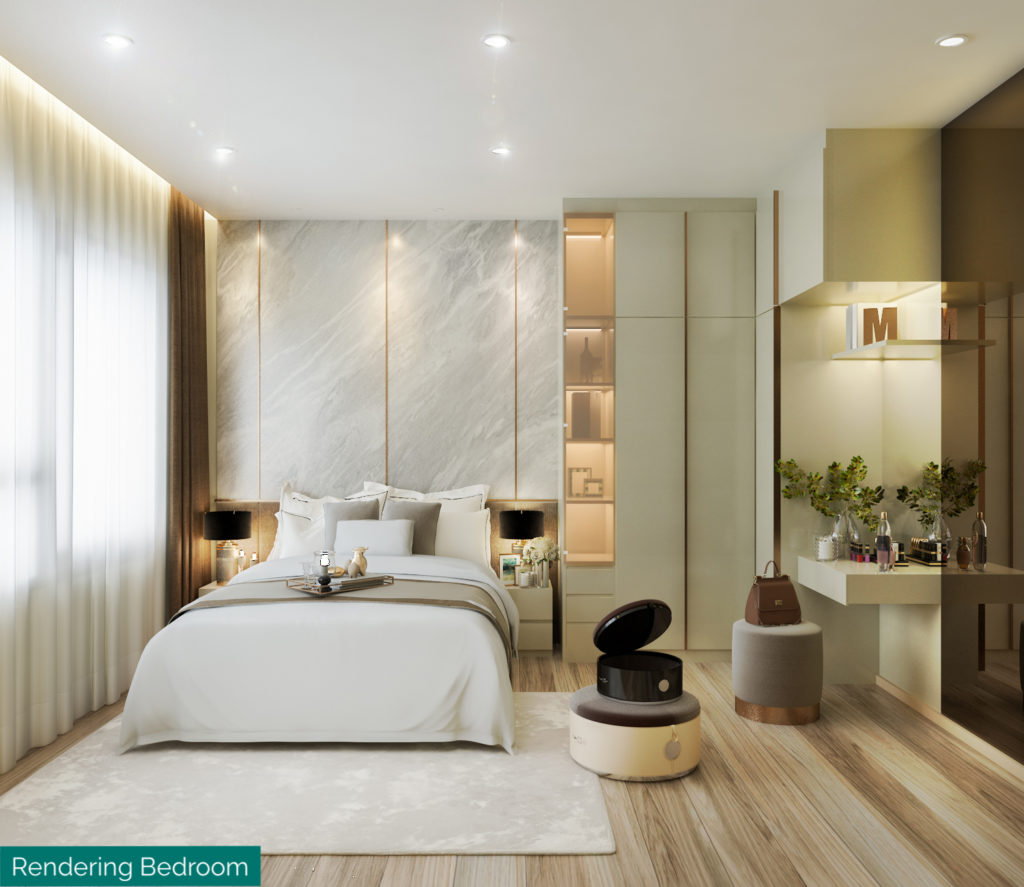
3. After completing the two tasks above, you can simply save and create a presentation for the clients.
The 3 methods mentioned above will greatly help save time in your work process. Especially when the presentation needs to be completed in a short amount of time. By following these methods and tricks, you can create a perspective presentation to help customers better understand the inspiration, design process and the end result much better.
If the clients do not wish to make any more adjustments, the sketches will be turned into 3D images.
To create more realistic and beautiful images, using the mentioned preliminary process will definitely speed up your work. By creating sketches with materials specification in detail for clients to see, you can make shifts and changes easily before modifying them into 3D images. Manual sketches are also an efficient way to create a preliminary presentation as it takes a lot less time than to directly create sketches in 3D max or Corona programs.


